Window tinting enhances your vehicle’s aesthetic appeal and offers practical benefits such as heat reduction, UV ray protection, and increased privacy. Proper cleaning and care are essential to maintain the appearance and functionality of tinted windows. This comprehensive guide will provide you with all the information you need to clean tinted windows effectively, ensuring they remain in top condition and continue to serve their purpose.
Understanding Tinted Windows
What Are Tinted Windows?
Tinted windows have been treated with a thin, transparent film or coating to reduce the amount of visible light, heat, and UV rays that pass through. They are commonly used in vehicles, homes, and commercial buildings for various purposes, including privacy, energy efficiency, and UV protection.
Types of Tinted Windows
There are several types of tinted windows available, including:
- Dyed Film: This type of tinted window features a dye layer between adhesive layers. It is effective at reducing glare and heat but may fade over time.
- Metalized Film: The metalized film contains metallic particles that reflect heat and UV rays. It is durable and offers excellent heat rejection but can interfere with electronic signals.
- Carbon Film: Carbon film is known for its high heat rejection properties and does not interfere with electronics. It is a popular choice for tinted windows.
- Ceramic Film: Ceramic film is the premium option, offering superior heat rejection and UV protection. It is non-metallic, ensuring it does not affect electronic signals.
Cleaning Tools & Supplies
Gather the necessary tools and supplies before you begin cleaning your tinted windows. Here’s what you’ll need:
Tools:
- Soft, lint-free microfiber cloths
- Squeegee with a soft rubber blade
- Bucket
- Soft-bristle brush
- Rubber gloves (optional)
- Distilled water (recommended)
Cleaning Solutions:
- Mild dish soap
- Tint-safe glass cleaner (ammonia-free)
- Vinegar (diluted with water)
- Rubbing alcohol (isopropyl alcohol)
Step-by-Step Cleaning Process
Follow these steps to clean your tinted windows effectively:
Step #1: Preparing the Area
Start by parking your vehicle in a shaded or indoor area if possible. Cleaning tinted windows in direct sunlight can cause cleaning solutions to dry too quickly, leading to streaks and smudges.
Step #2: Dust Removal
Use a soft-bristle brush or a can of compressed air to remove loose dust and debris from the window surface. This step helps prevent scratching the tint during cleaning.
Step #3: Prepare Cleaning Solution
Mix a solution of warm water and a few drops of mild dish soap in a bucket. Alternatively, you can use a tint-safe glass cleaner or a mixture of vinegar and water.
Step #4: Wetting the Window
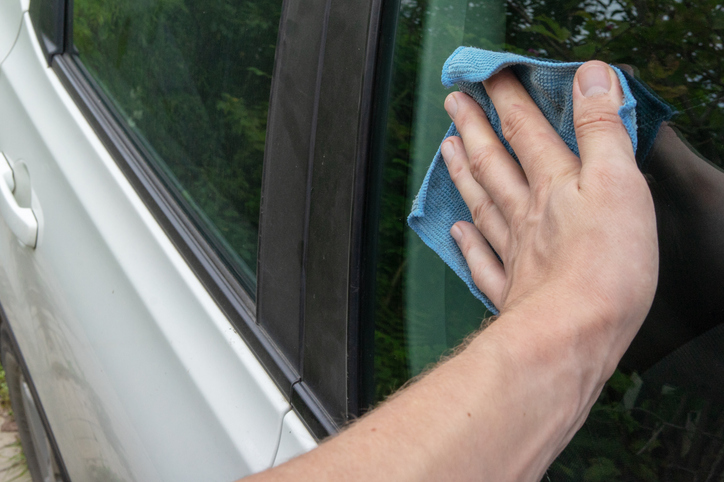
Dip a soft, lint-free microfiber cloth into the cleaning solution and wring it out to remove excess liquid. Gently wipe the tinted window to wet the entire surface. Avoid applying excessive pressure to prevent damage to the film.
Step #5: Cleaning the Window
Use a damp cloth to clean the tinted window, working in small sections at a time. Start at the top and work your way down vertically or horizontally. Be gentle and avoid scrubbing vigorously.
Step #6: Agitating Stubborn Stains
For stubborn stains or spots, you can use a mixture of rubbing alcohol and water. Apply the solution to a cloth and gently rub the stained area. Ensure that the cloth is damp, not dripping.
Step #7: Squeegeeing
After cleaning a section, use a squeegee with a soft rubber blade to remove excess water and cleaning solution. Start at the top and pull the squeegee down in a straight line, wiping the blade with a clean cloth after each pass.
Step #8: Drying
Use a fresh, dry microfiber cloth to wipe the window’s surface, ensuring it is completely dry. Pay special attention to the edges and corners to prevent water from seeping under the film.
Step #9: Repeat as Necessary
If your tinted windows are particularly dirty or have streaks, clean them until the glass is clear and residue-free.
Cleaning Do’s & Don’ts
Cleaning Do’s
- Use mild cleaning solutions: Avoid harsh chemicals and ammonia-based cleaners, as they can damage the tinted film.
- Use lint-free microfiber cloths: These are gentle on the film and minimize the risk of scratches.
- Be gentle: Avoid using abrasive materials, excessive pressure, or abrasive sponges or brushes.
- Test a small area first: If you’re using a new cleaning product, test it on a small, inconspicuous area of the tinted window to ensure it doesn’t damage the film.
Cleaning Don’ts
- Don’t use ammonia-based cleaners: Ammonia can weaken and discolour tinted film over time.
- Don’t use abrasive materials: Avoid paper towels, rough sponges, or anything that can scratch the film.
- Don’t use sharp objects: Never use razor blades or other sharp tools to remove dirt or stickers from tinted windows, as they can damage the film irreparably.
- Don’t clean tinted windows when hot: Cleaning in direct sunlight can cause cleaning solutions to dry too quickly, leading to streaks.
Maintaining Tinted Windows
Regular Cleaning
Establish a regular cleaning routine to keep your tinted windows in top condition. Aim to clean them at least once a month or more frequently if you live in an area with high pollution or frequent rain.
Avoiding Harsh Elements
Park your vehicle in a shaded area or use a car cover to protect your tinted windows from harsh weather conditions and direct sunlight.
Avoid Stickers & Decals
Avoid applying stickers, decals, or adhesives directly to the tinted film. If necessary, place them on the exterior of the window, not the interior, to prevent adhesive residue buildup.
Properly cleaning and maintaining window tinting is essential to preserve appearance and functionality. By following the steps and tips outlined in this comprehensive guide, you can ensure that your tinted windows remain in excellent condition, providing the benefits of heat reduction, UV protection, and enhanced privacy for years to come. Regular care will keep them looking their best and prolong their lifespan.